
“Walking through darkness with thoughts full of colors…” ― Prajakta Mhadnak
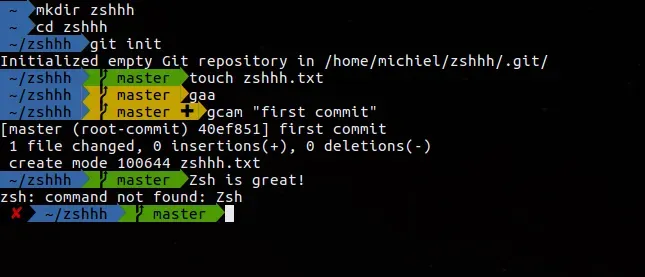
Perhaps the above line is the best description of the most wanted work experience for all the programmers. Every creature in the world decorates its own living space — there we are, human after all!!!. And who doesn’t know IDE and terminals are the living worlds in the field of programming and development? So, each IDE provides a customisable environment (if you are not from Adam-Eve’s age — using notepad as an IDE😉). But those who are using the terminal as their living (!working) world was abandoned for years until Robby Russell built oh-my-zsh. If you are using Ubuntu, you can consider the following tutorial guide written by Michiel Mulders —
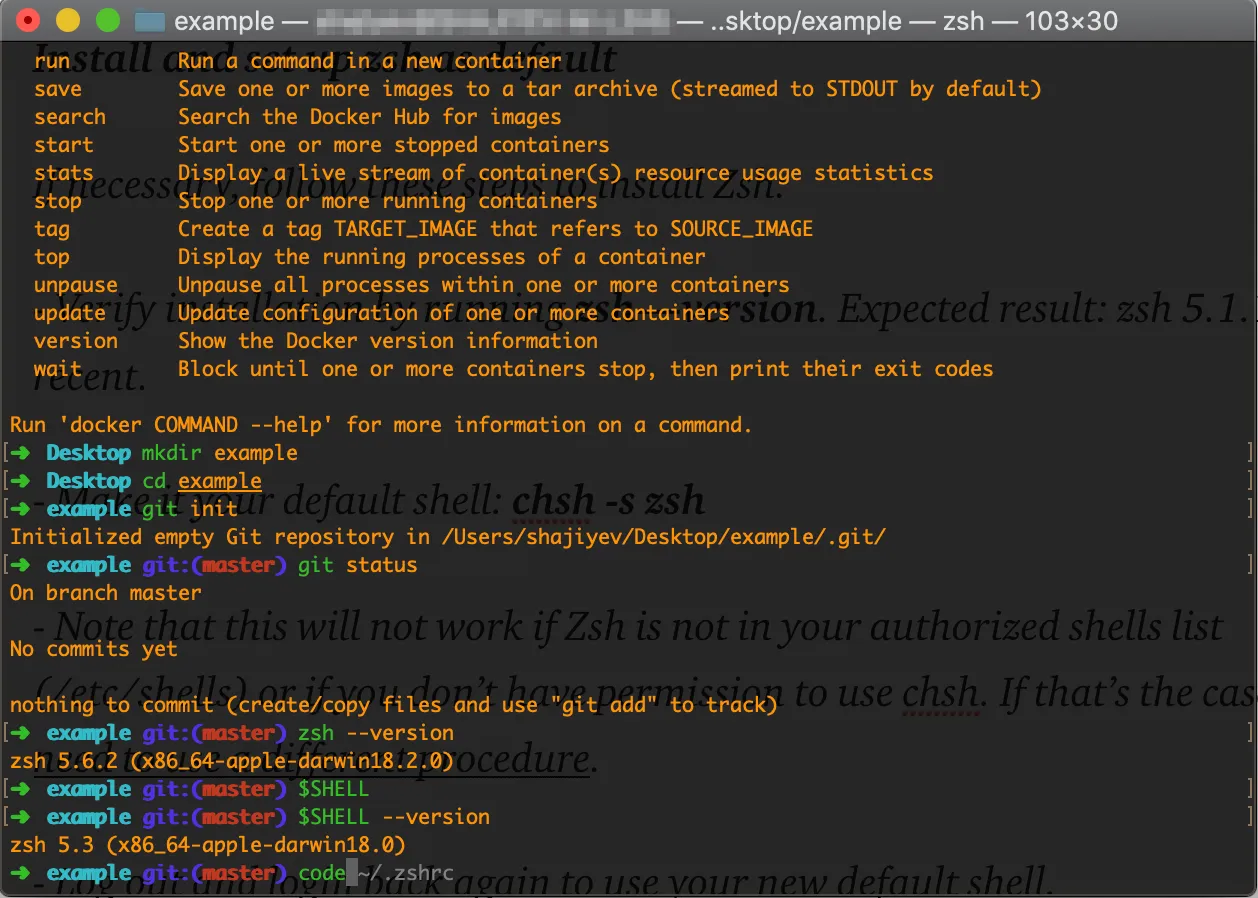
Or if you are using macOS, then here goes the step by step installation guide for you —
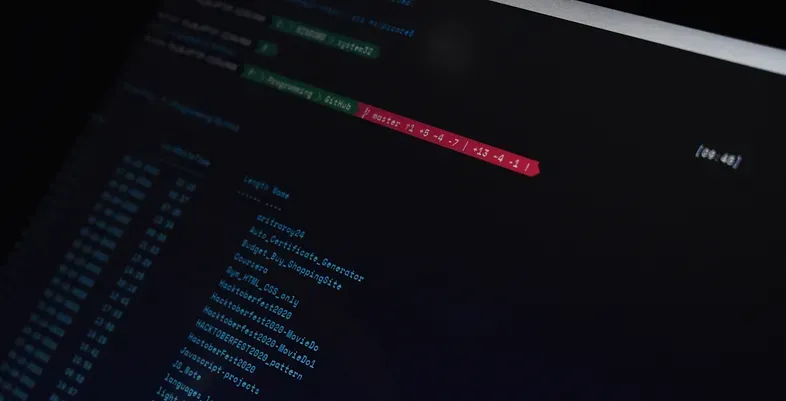
But Alas!!! If you are using Windows PowerShell, then sorry, oh-my-zsh is not for you. Here Jan De Dobbeleer came forward with his oh-my-posh module for us (Windows User). I think you have read about oh-my-posh V2 and posh-git in my previous article…Not yet? Read my earlier article — you’ll get to know how to install posh-git (!Highly recommended for git users🙌🙌🙌️) —
Enough of patience? Hold on✋✋✋!!! I’m diving into the details right now —
Fundamental Differences Between V2 and V3
• V2 was applicable for only Windows PowerShell. But V3 is available for Windows, macOS and Linux also.
• The configuration is changed from $ThemeSettings to .json to ensure easy customisation.
• More easy installation procedure.
oh-my-posh V3: Step-by-Step Guide
Installation:
I’ll be using Windows PowerShell for this guide. A PowerShell module has already been there for the effortless installation procedure. Just paste the following command in your PowerShell and press enter —
Install-Module -Name oh-my-poshAlternatively, you can use the installation command [Figure 1] given by the documentation itself (thereafter same procedure)—
Install-Module oh-my-posh -Scope CurrentUser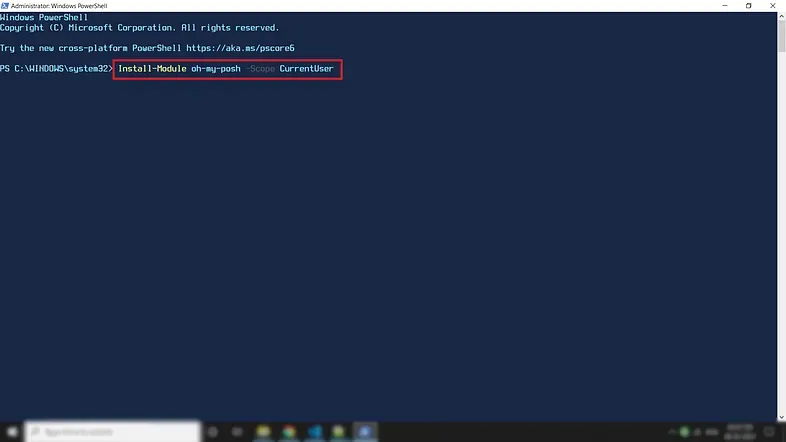
Figure 1: oh-my-posh Module Installation Command
Though this installation process can be done without the Administrator Mode, it’s better to do all this staff in Administrator Mode. While installing, you can see a confirmation message for the complete installation saying, ‘You are installing the modules from an untrusted repository.’ You will have the following six options [Figure 2 (Red Box)]—
1) [𝙔] 𝙔𝙚𝙨2) [A] Yes to All3) [N] No4) [L] No to All5) [S] Suspend6) [?] HelpType ‘y’ or ‘Y’ [Figure 2 (Yellow Box)] and press enter to allow the module to be installed.
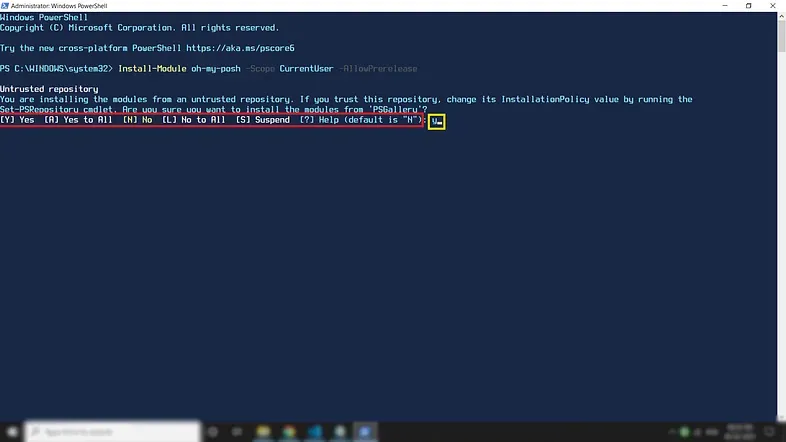
Figure 2: Untrusted Repository warning (Red Box) and the needed input (Yellow Box)
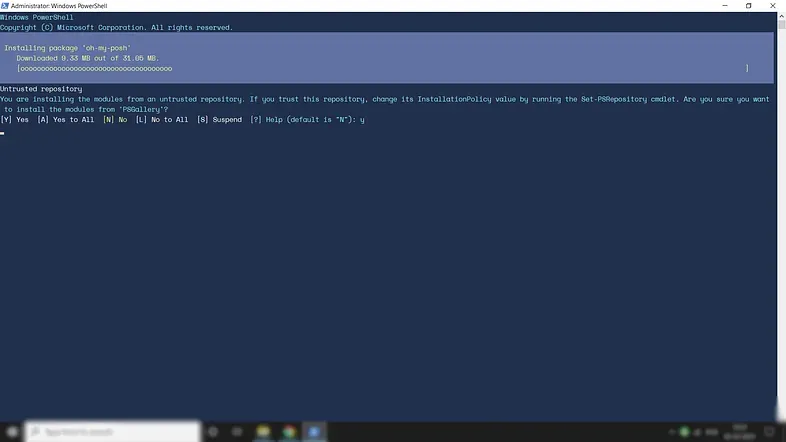
After that, you can see a window popping up saying that the package is being installed [Figure 3] —
Visualising All The Themes:
Now, once you have installed the module, you can view all the available themes provided by the module by using the following command in your PowerShell terminal —
Get-PoshThemesoh-my-posh V3 provides a total no of 38 themes. You can see all the available themes are coming up, showing their respective theme-preview [Figure 4] —
Figure 4: All Available theme-preview
Setting Your Theme:
Now you can use the following command to set a theme as your terminal theme (microverse-power is a theme name provided by the oh-my-posh module itself)—
Set-PoshPrompt -Theme microverse-powerBut wait ✋✋✋, it is not done yet. If you leave here, you have to set the theme again when you open the terminal next time. If you want to set the theme as permanent, i.e. when you open the terminal, the theme will be automatically set up for you, then you’ll have to save the theme configuration in the profile. For that, copy-paste the following command in your terminal and hit enter —
notepad $profileIt will open a notepad window. Copy-paste the above theme-setting command [Figure 5], i.e. —
Set-PoshPrompt -Theme microverse-power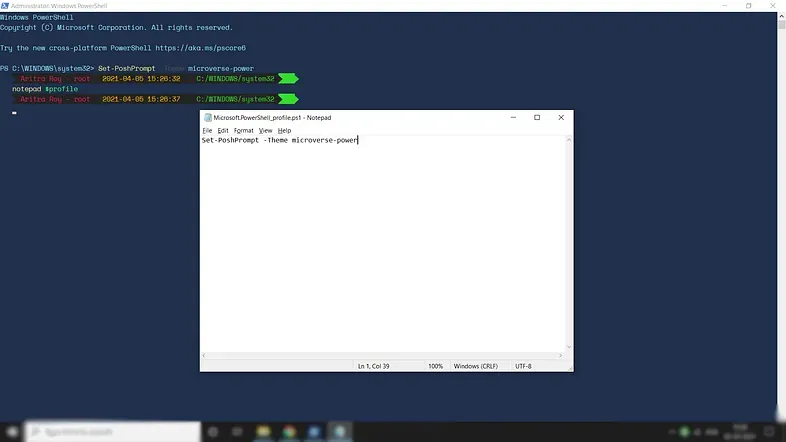
Save the notepad file and run the command . $PROFILE and finally reload your terminal to see the changes. At this point, you are good to go. Most people will be happy with all the available themes.
⁕ ⁕ ⁕
Getting an error: oh-my-posh command not found?
It’s because oh-my-posh no longer support PowerShell Modules. But don’t worry, they have given the solution. You just have to migrate oh-my-posh to enable it on your device. The process is very simple. Just copy-paste the following commands into your profile file (to use 1_shell)—
Import-Module oh-my-poshoh-my-posh init pwsh --config https://raw.githubusercontent.com/JanDeDobbeleer/oh-my-posh/main/themes/1_shell.omp.json | Invoke-ExpressionNow, if you want to use other themes, you can change the name of the theme in the link. You can get all the themes on their official website’s theme section.
⁕ ⁕ ⁕
But if you want to be unique, then follow me along. I have customized it to adjust my choice, and here it goes —
{ "$schema": "https://raw.githubusercontent.com/JanDeDobbeleer/oh-my-posh/main/themes/schema.json", "blocks": [ { "type": "prompt", "alignment": "left", "segments": [ { "type": "os", "style": "plain", "foreground": "#5aeea4" }, { "type": "session", "style": "powerline", "powerline_symbol": "\uE0B0", "foreground": "#18f123", "background": "#242424", "properties": { "display_host": false, "postfix": " " } }, { "type": "battery", "style": "powerline", "powerline_symbol": "", "foreground": "#193549", "background": "#f36943", "properties": { "battery_icon": "", "color_background": true, "charged_color": "#50cdff", "charging_color": "#ffa32a", "discharging_color": "#ff0000", "postfix": "\uF295 " } }, { "type": "time", "style": "powerline", "powerline_symbol": "\uE0B0", "foreground": "#ffe866", "background": "#242424", "properties": { "time_format": " 2006-01-02", "prefix": "" } }, { "type": "time", "style": "powerline", "powerline_symbol": "", "foreground": "#242424", "background": "#ffe866", "properties": { "time_format": "15:04:05", "prefix": " " } }, { "type": "path", "style": "powerline", "powerline_symbol": " ", "foreground": "#f84e78", "background": "#242424", "properties": { "prefix": "\uE5FF ", "style": "full", "folder_separator_icon": "/" } }, { "type": "shell", "style": "powerline", "powerline_symbol": "\uE0B0", "foreground": "#ffffff", "background": "#0077c2", "properties": { "prefix": " \uFCB5 " } }, { "type": "git", "style": "powerline", "powerline_symbol": "\uE0B0", "foreground": "#462e00", "background": "#fffb00", "properties": { "display_status": true, "display_stash_count": true, "display_upstream_icon": true, "prefix": " " } }, { "type": "exit", "style": "powerline", "powerline_symbol": "\uE0B0", "foreground": "#242424", "background": "#33DD2D", "properties": { "display_exit_code": false, "always_enabled": true, "color_background": true, "error_color": "#f1184c", "prefix": " \ufc8d" } } ] }, { "type": "newline" }, { "type": "prompt", "alignment": "left", "segments": [ { "type": "text", "style": "plain", "foreground": "#ee00e2", "properties": { "prefix": "", "text": "\u21d2" } } ] } ], "final_space": true}The above code will give you the result [Figure 6] like the following (I’ve blurred the exact folder path for my own reason) —
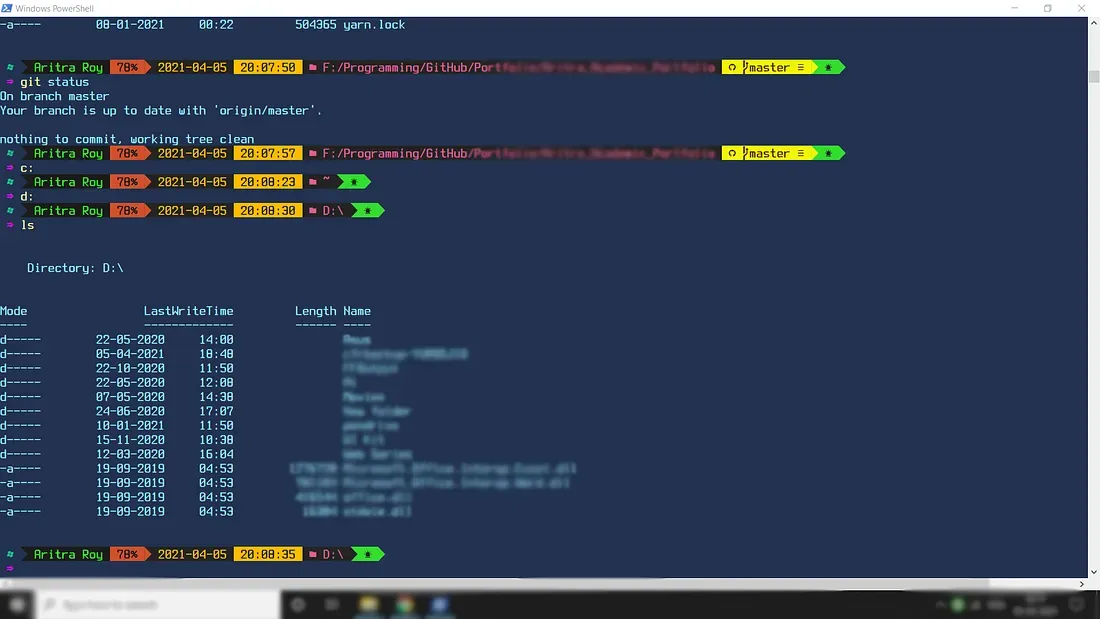
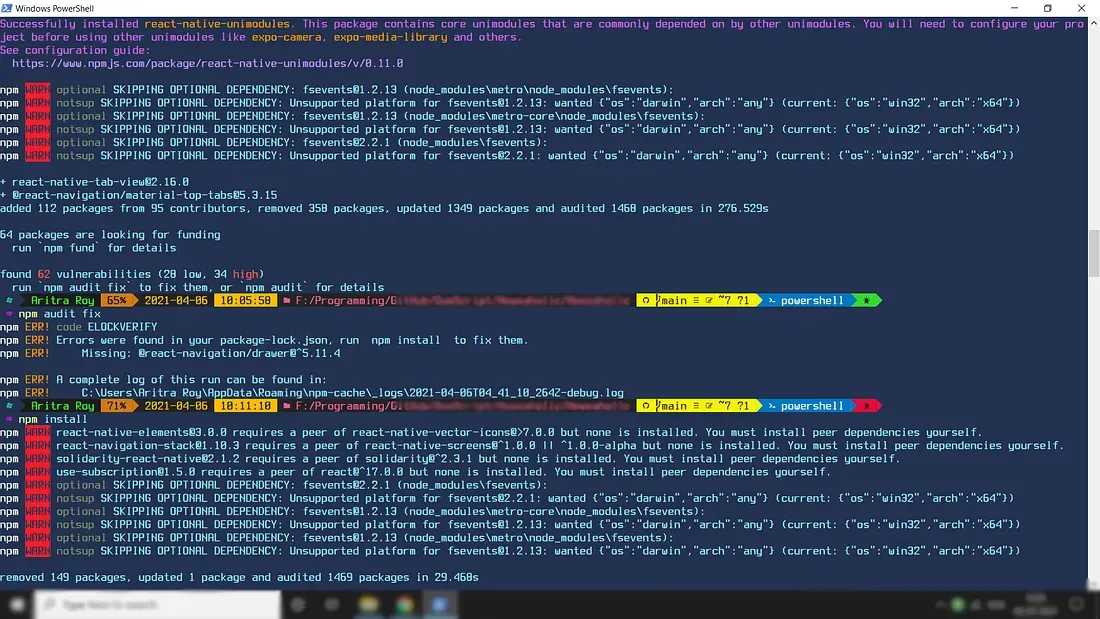
Figure 6: PowerShell screenshot after installing customized aritraroy theme
Customization Procedure:
Basically, oh-my-posh renders your prompt based on the definition of blocks (like Lego), which contain one or more segments. Now it’s more comfortable for you(!as a beginner) to modify one theme or merge two or more themes than to build from scratch. I have also combined two themes (microverse-power and jandedobbeleer), which gave me the above result.
Blocks:
Under General Settings, an essential part is “blocks”. Now under “blocks”, you can add the following elements —
• type: prompt ∣ rprompt ∣ newline
• alignment: left ∣ right
• vertical_offset: int
• horizontal_offset: int
• segments: array of one or more segments
[1]. type: Now, as you see, type can be of three types (I used prompt as type) —
𝐚) 𝐩𝐫𝐨𝐦𝐩𝐭: renders one or more segments𝐛) 𝐫𝐩𝐫𝐨𝐦𝐩𝐭: one or more segments aligned to the right of the cursor𝐜) 𝐧𝐞𝐰𝐥𝐢𝐧𝐞: inserts a new line[2]. alignment: You can align the elements right or left using the alignment option (I used left as alignment).
[3]. vertical_offset & horizontal_offset: You can also give vertical and horizontal offset(space) using the vertical_offset and the horizontal_offset options, respectively (I didn’t use these parameters).
[4]. segments: Now, segments are the most important part of this script. This part provides many parameters like —
• type: string
• style: powerline ∣ plain ∣ diamond
• powerline_symbol: string
• invert_powerline: boolean
• leading_diamond: string
• trailing_diamond: string
• foreground: string
• foreground_templates: array of string values
• background: string
• background_templates: array of string values
• properties: array of Property: string
Now I’m not going to discuss all the parameters. I’ll talk about the most common and interesting ones —
𝟭) 𝘁𝘆𝗽𝗲: 𝗼𝘀-shows operating system you are using 𝘀𝗲𝘀𝘀𝗶𝗼𝗻-shows user name and host name 𝗯𝗮𝘁𝘁𝗲𝗿𝘆-shows battery status 𝘁𝗶𝗺𝗲-shows date and time 𝗽𝗮𝘁𝗵-shows the folder path 𝘀𝗵𝗲𝗹𝗹-shows which type of shell you are using 𝗴𝗶𝘁-shows git status (enabled with posh-git) 𝗲𝘅𝗶𝘁-shows the display status (error/succesful)𝟮) 𝘀𝘁𝘆𝗹𝗲: 𝗽𝗼𝘄𝗲𝗿𝗹𝗶𝗻𝗲-background(previous one)foreground(current one) 𝗽𝗹𝗮𝗶𝗻-colored text on a transparent background 𝗱𝗶𝗮𝗺𝗼𝗻𝗱-ifferent starting and ending symbol𝟯) 𝗽𝗼𝘄𝗲𝗿𝗹𝗶𝗻𝗲_𝘀𝘆𝗺𝗯𝗼𝗹: text character to use when style "powerline" is selected𝟰) 𝗳𝗼𝗿𝗲𝗴𝗿𝗼𝘂𝗻𝗱 𝗮𝗻𝗱 𝗯𝗮𝗰𝗸𝗴𝗿𝗼𝘂𝗻𝗱: to set foreground and background colour𝟱) 𝗽𝗿𝗼𝗽𝗲𝗿𝘁𝗶𝗲𝘀: to set different properties for different type like prefix, postfix, time format, display host, charging colour, discharging colour etc.Also, you can use Nerd Fonts to include icons in your text part to look cooler. But all icons are not accepted in all fonts. There is no specific layout in which font will support which icons. You have to go through a try and error process to come up with the best one. You can also find different icons from charbase.com —
Now, to implement your custom theme, save the file as filename.omp.json and save it in any folder you like. Copy the folder path and change the URL in your profile with the copied path following filename.omp.json and again run the . $PROFILE command. Reload your terminal to see your customized theme.
Note
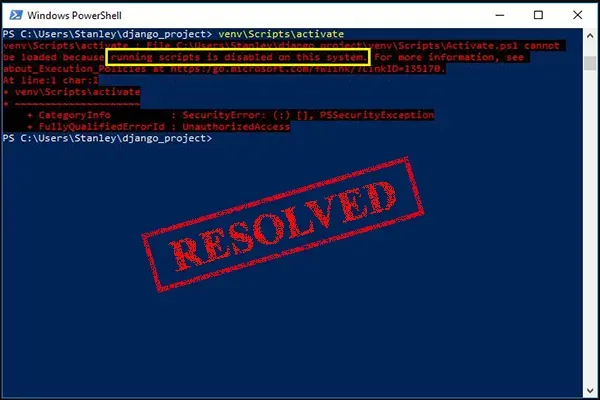
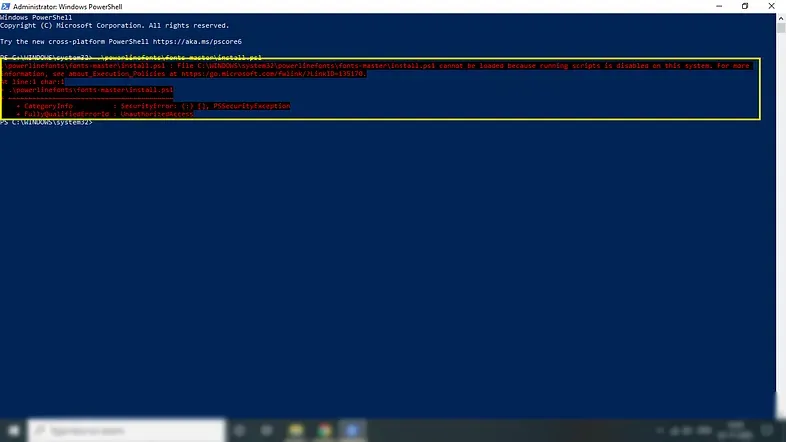
- • If you somehow came up with an execution policy error like Figure 7, please go through the following two articles to avoid that error —
- • If you want to know more about the customization of the oh-my-posh module, then kindly go through their whole documentation.
⁕ ⁕ ⁕